A lot of the off-road community members decide to run Morimoto, Diode Dynamics, Rigid, KC, etc. but those get pricey!
If you're anything like me, you're rolling on a budget.
Don't get peer pressured to think you need to run over a grand for some off-road lights. You can save a buck and run the ROADSHOCK lineup from Harbor Freight like I did and was thoroughly impressed. This is coming from a guy that has spent a fair share on Morimoto HXB lights and currently own a set of Morimoto Headlights.
https://www.harborfreight.com/lighting/ ... d_source=1
The ROADSHOCK series is nothing to sleep on, especially the EDGE. I however didn't want something too big to be mounted upside down on the lower front of my vehicle, so I went with their standard series spot and floods with the side light.
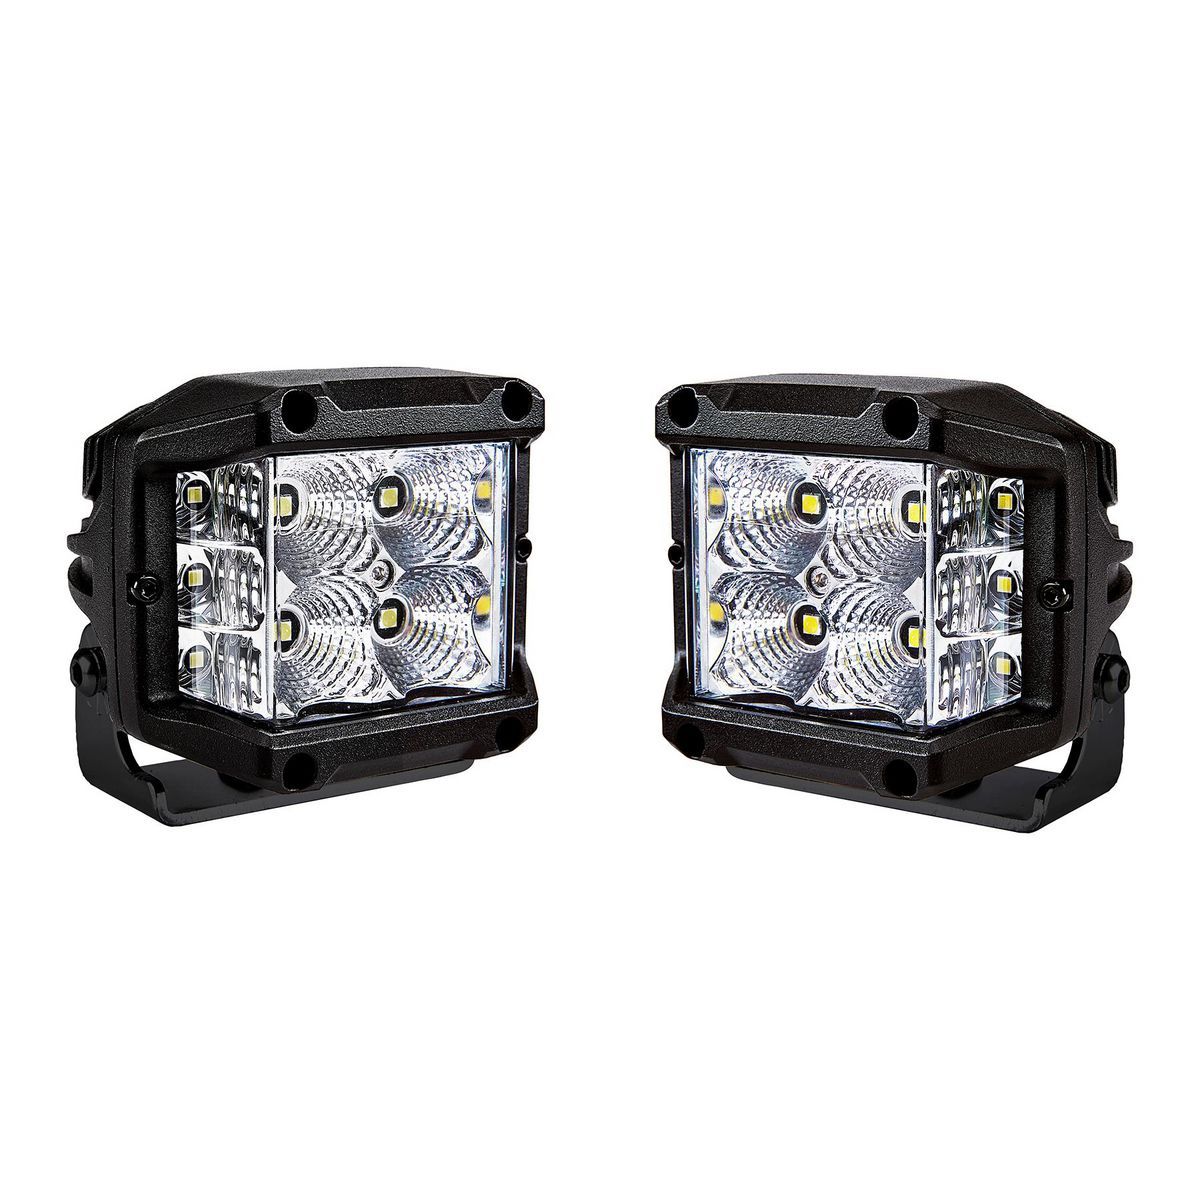
https://www.harborfreight.com/3-in-led- ... 57538.html
https://www.harborfreight.com/3-in-led- ... 57539.html
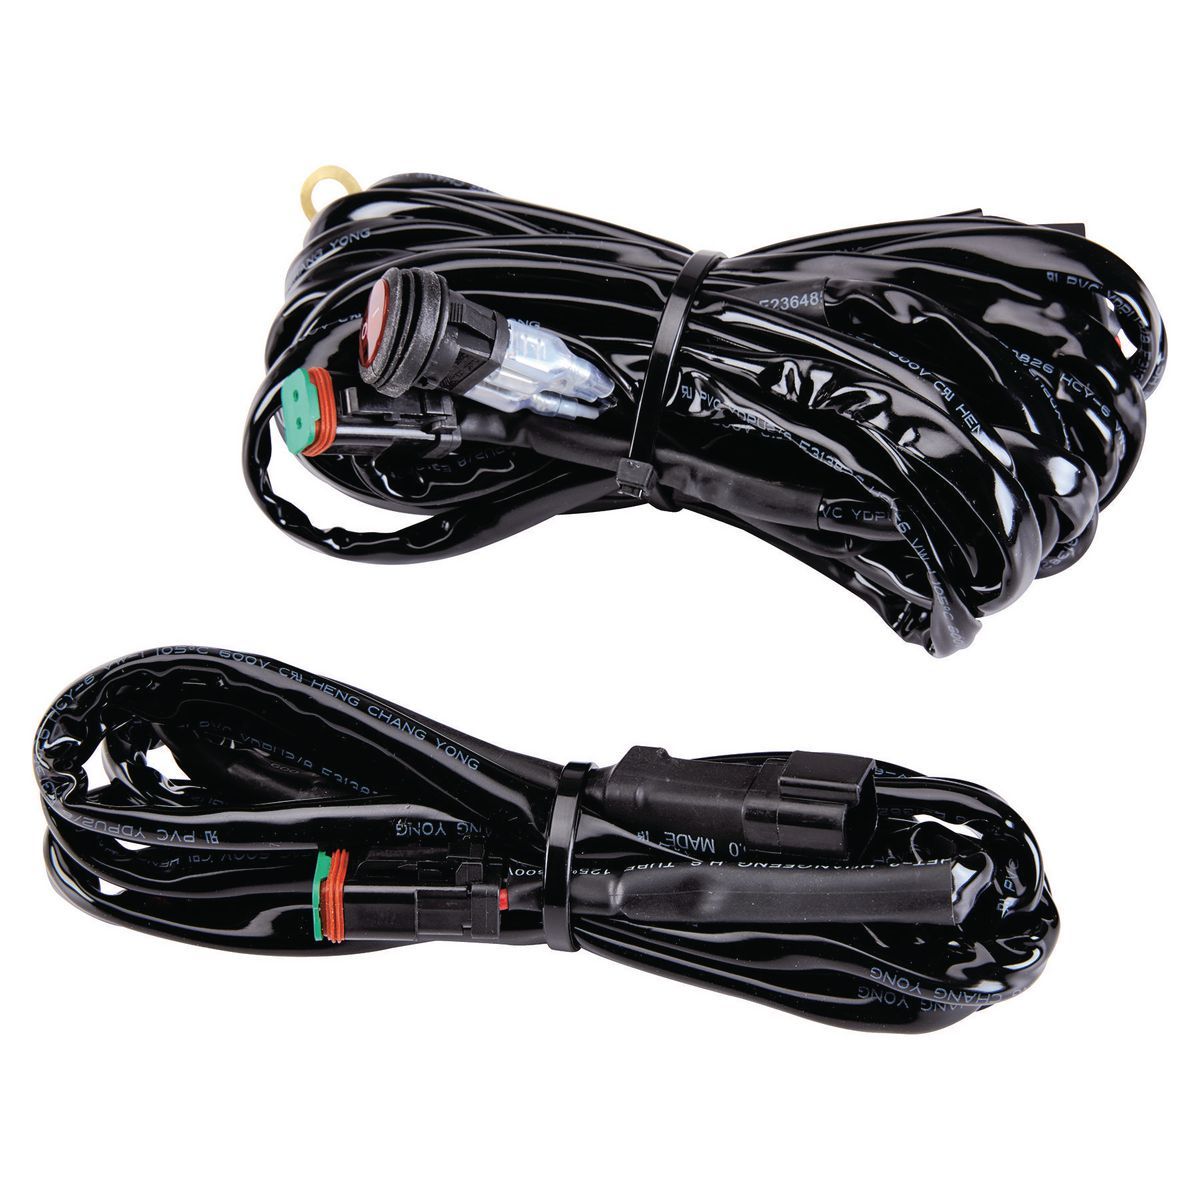
Now, if you're new or unfamiliar with the Ford Raptor, they have Auxillary Switches inside the vehicle to run off-road lights and other accessories you may want to add. The switches are run off a fused circuit and are tied to relays. The only thing you have to do is complete the circuit from the relays to the hood with the passthrough wires (unless you're doing internal to the vehicle, you can skip) and complete a ground connection anywhere on the chassis.
Fabricating and running wires can be a little time consuming, and depending on the application, you may find it better to wire in relays external to the vehicle as an added insurance and ability to run amperage straight from the battery. The Aux Switched circuit will just act as a signal for the relays to kick on.
Get on with it...
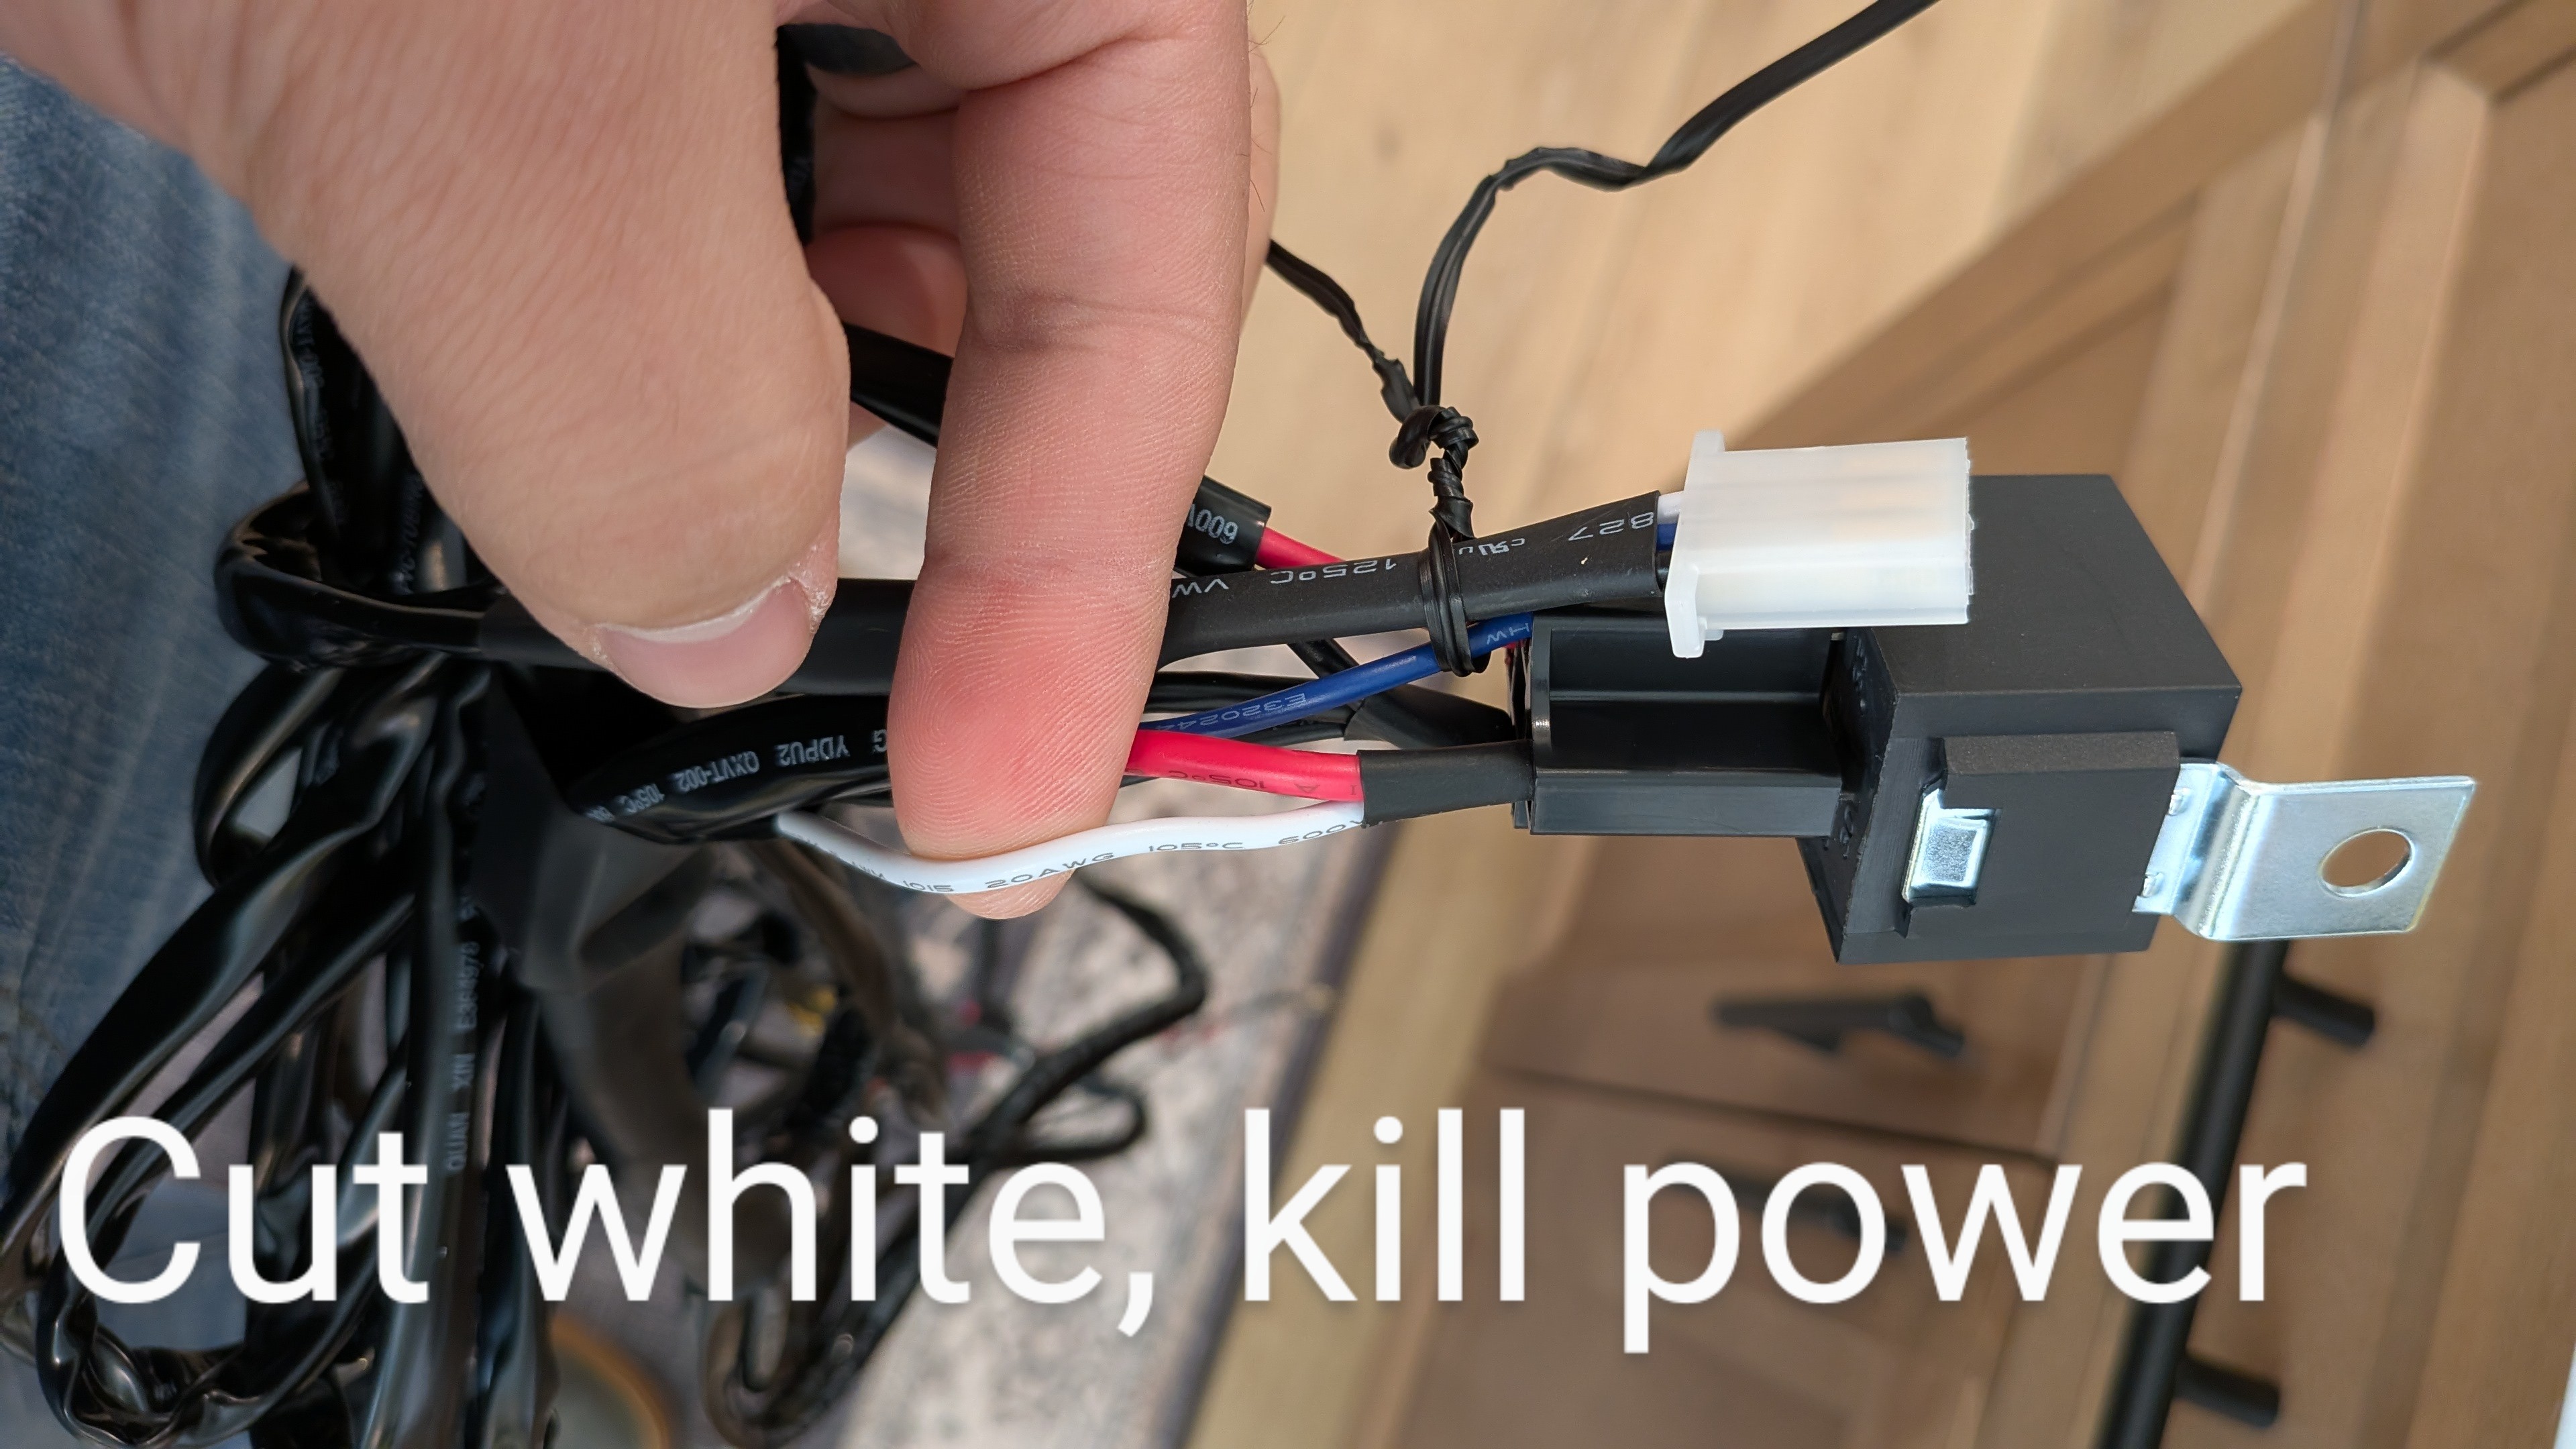
So in my application, I popped the switch off of the wiring harness and snipped the white wire immediately after the relay. You'll see that it's tied into the red wires for 12V power from the Relays. What this accomplished is complete removal of power delivery to the Switch Button. So when you plug the switch back in, the button will be inoperable.
The next thing I did was snip the Ground wire on that same loom a little further down since we will not be using it and it's already daisy chained with the other grounds. Its redundant. No harm in throwing a ring terminal to it for an added ground. Typically, more grounds the better.
Finally, I took the last wire, blue, and spliced it to the passthrough wires in the Raptor. Then under the glove compartment, I spliced the passthrough wire to a desired switch.
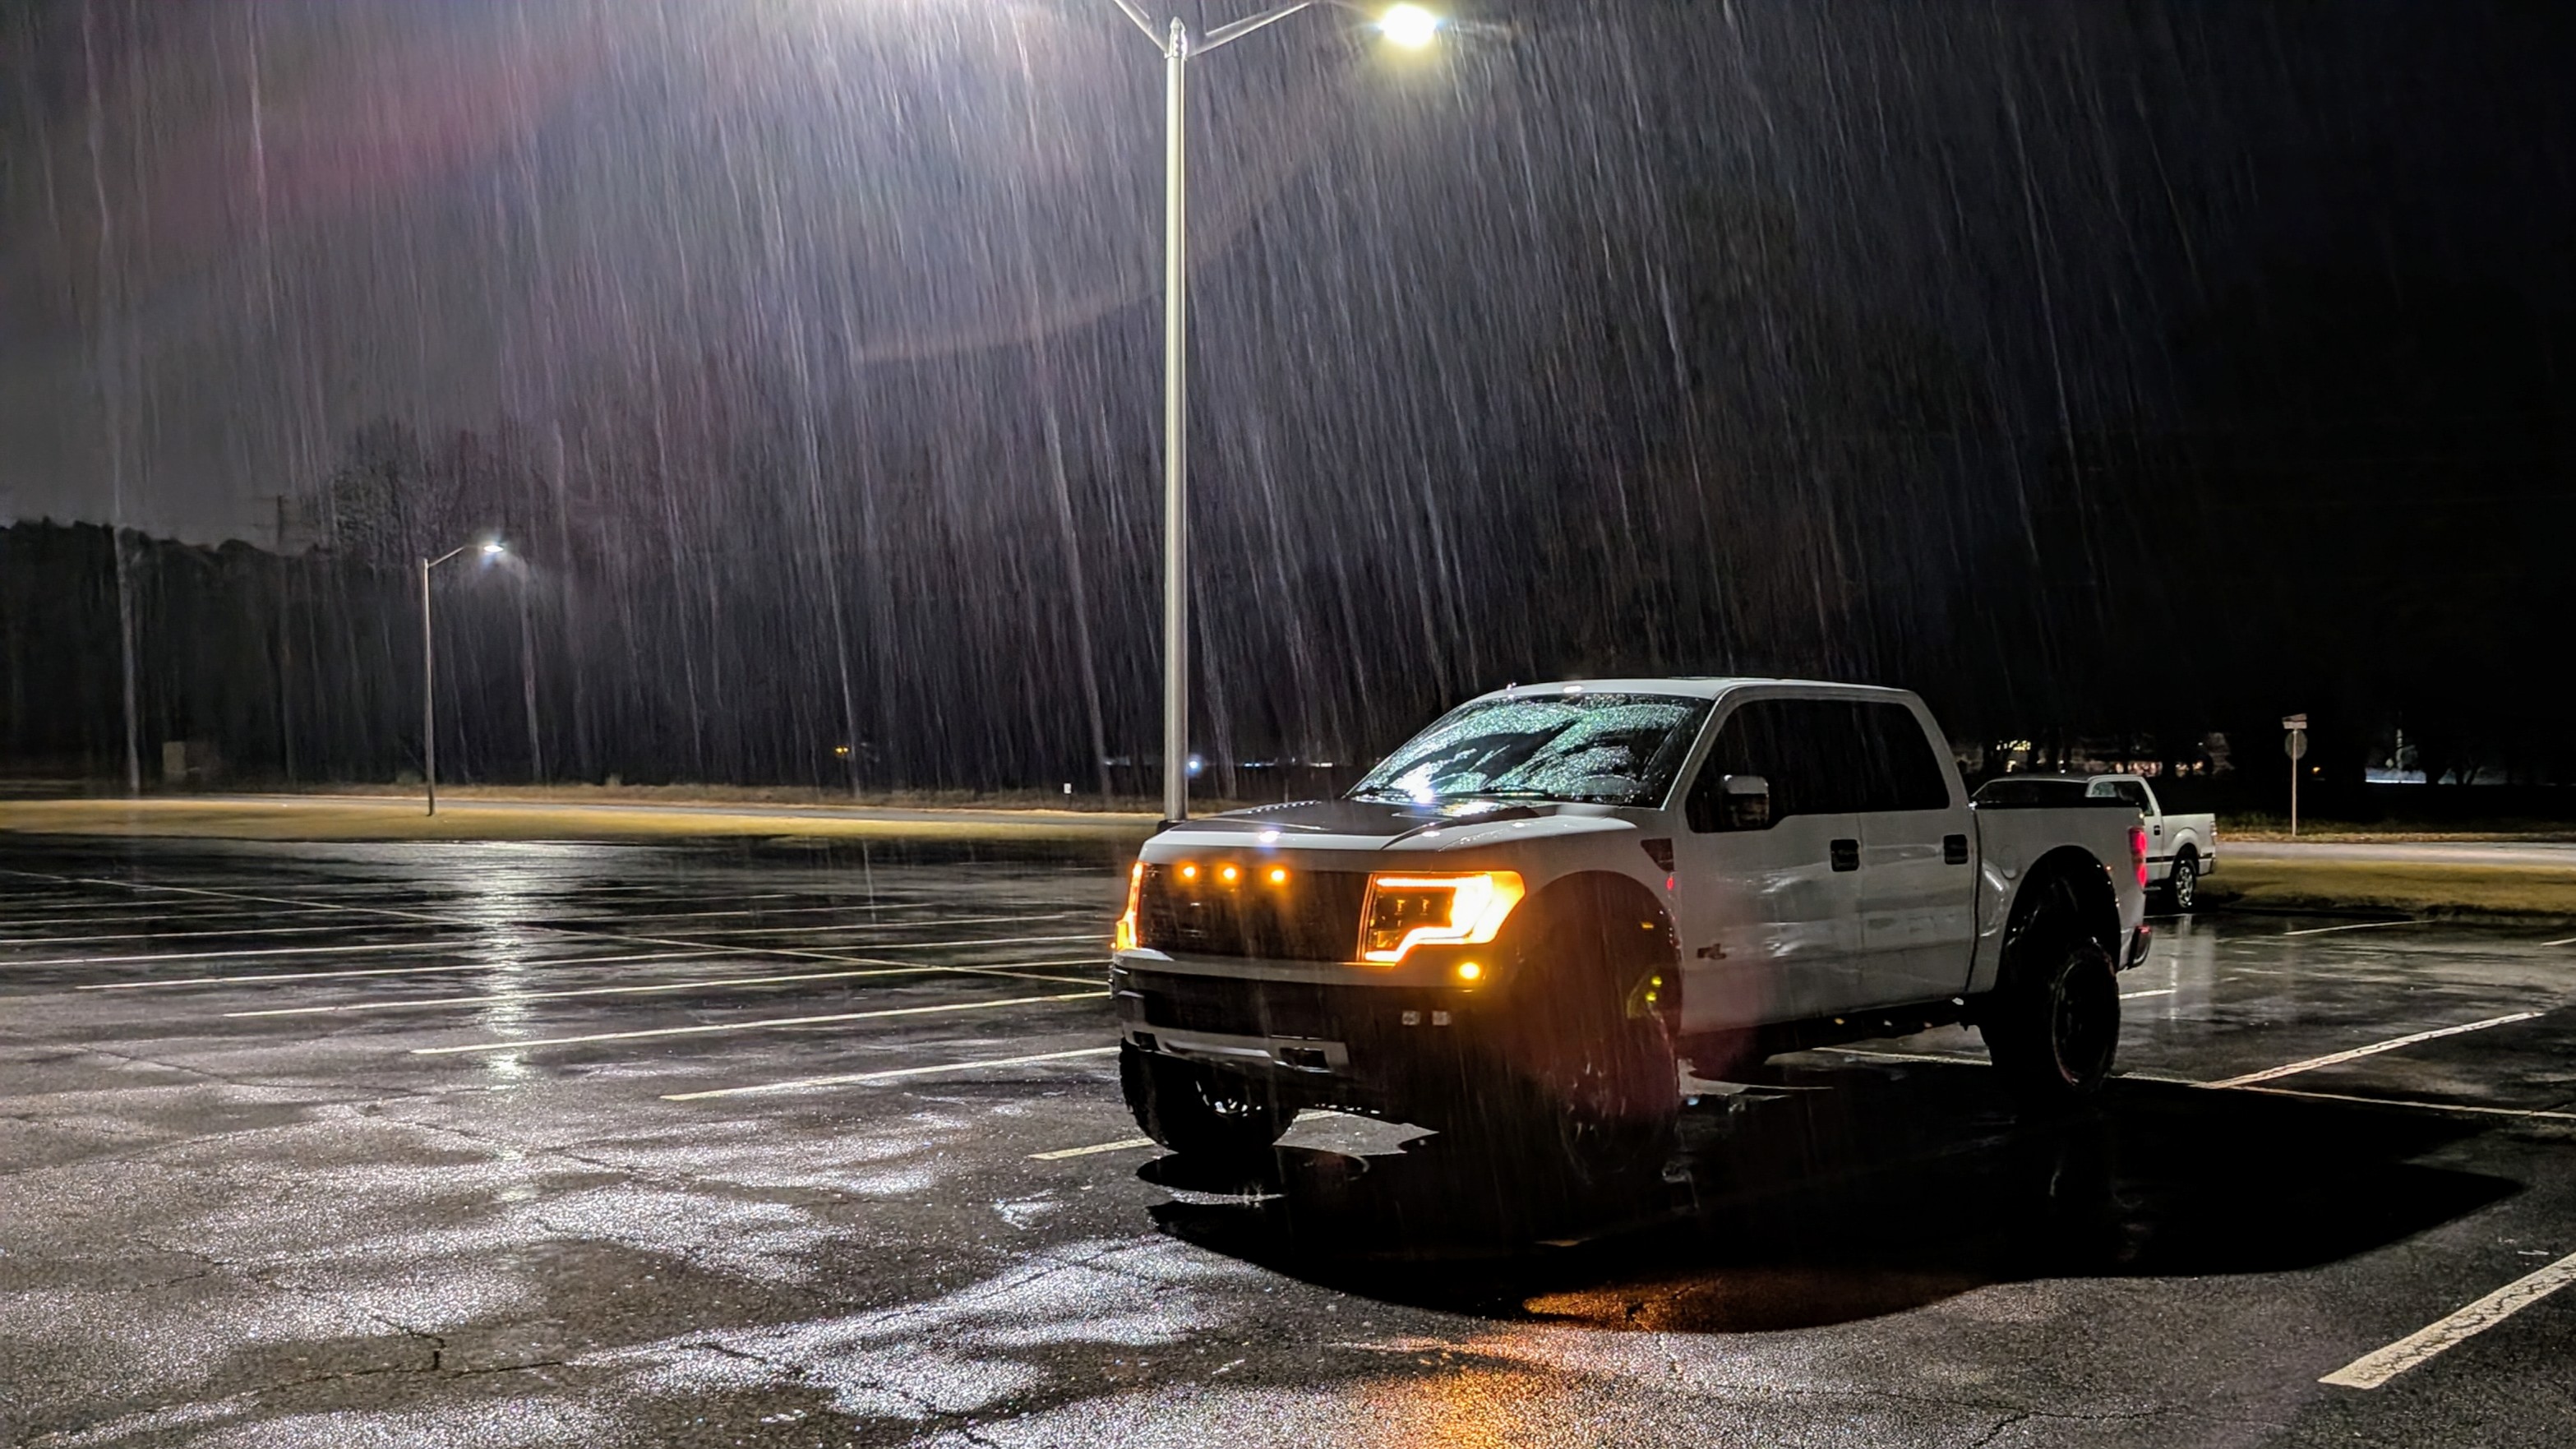
Button everything up and throw in your desired lights on the DT Connectors and you're good to go!